Darwen Heritage Centre is a Registered Charity and is managed and run by volunteers.
If you would like to help the Centre by donating a small amount of money please can you do it by bank transfer using the following bank details
ACCOUNT NAME: Darwen Heritage Centre
ACCOUNT NUMBER: 33987736
SORT CODE: 200972
REF: DHC donation
Every donation received is used to keep the Centre running and improving.
Thank you to all the visitors that have supported us through the donation boxes in the Centre.
Your donations are greatly appreciated.
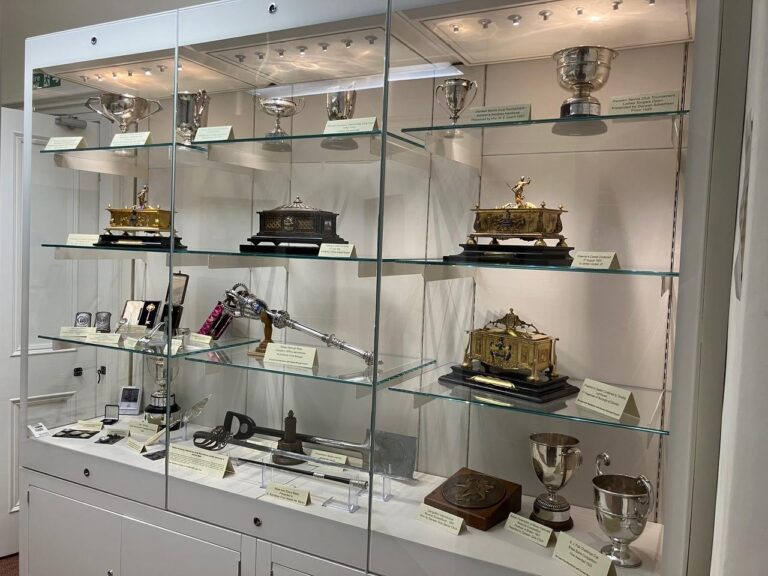
Our new cabinet in our Main Exhibition Room. This cabinet is now full of all the precious artifacts that we have in the Centre.
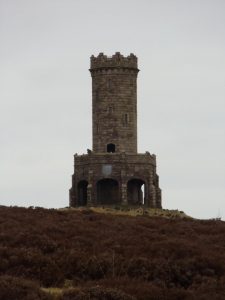
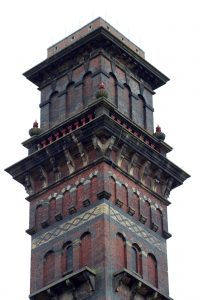
The town is nestled in a valley overlooked by the Victoria Tower, or Darwen Tower as it is more commonly known. Families and visitors walk the moor to this famous landmark for the breathtaking views, whilst down in the town the Grade 2* listed India Mill Chimney rises magnificently 300 feet into the air in the style of an Italian campanile, (bell tower).
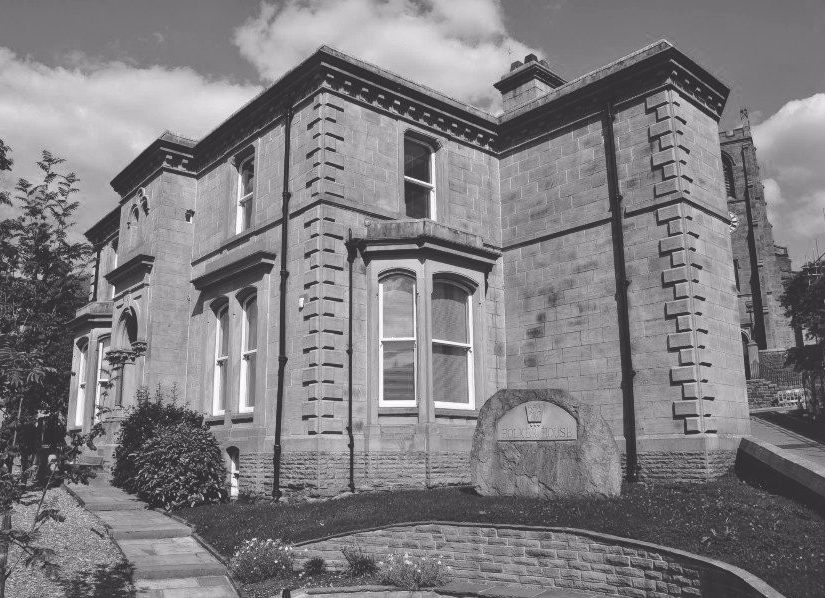
In the heart of this town Holker House has become the home for the Darwen Heritage Centre. A building dedicated to the prolific history of this cotton mill town steeped in stories and stunning architecture. Darwen was home to a strong cotton industry and boasts a visit from Gandhi in September 1931 to address concerns with cotton trading. It was home for Samuel Crompton, inventor of the spinning mule, who lived in Bury Fold Lane, Darwen.
Other famous Darreners include Sam Wadsworth who became a professional footballer winning 9 caps playing for England between 1922 and 1926; world renowned strong man Bill Hunt; professional golfer Dick Burton who held the Open Champion title for seven years; Margaret Chapman the illustrator and painter; Sigrid Augusta Green, female spy in World War 2 and lead singer of Blancmange, Neil Arthur.